AWS的k8s(Kubernetes)需要安装一个istio来方便管理servicemesh、动态调整流量、附加https等
官网的安装说明已经很不错了,我个人喜欢用helm部署,以下是helm 3.6以上部署方式
helm repo add istio https://istio-release.storage.googleapis.com/charts
kubectl create namespace istio-system
helm install istiod istio/istiod -n istio-system --wait
# 这里开始就和官网不一样了,直接安装gateway到 istio-system里,这样方便整体删除
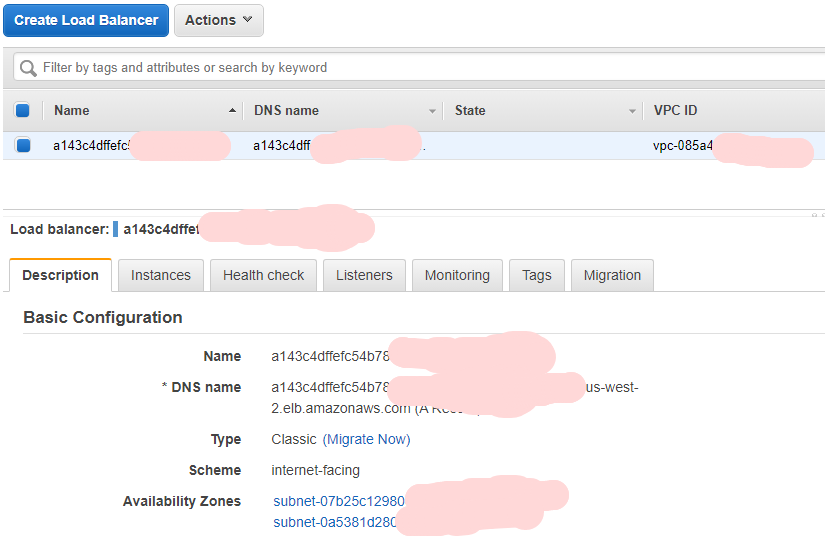
helm install istio-ingressgateway istio/gateway -n istio-system --wait这时,AWS会自动分配一个ELB给你
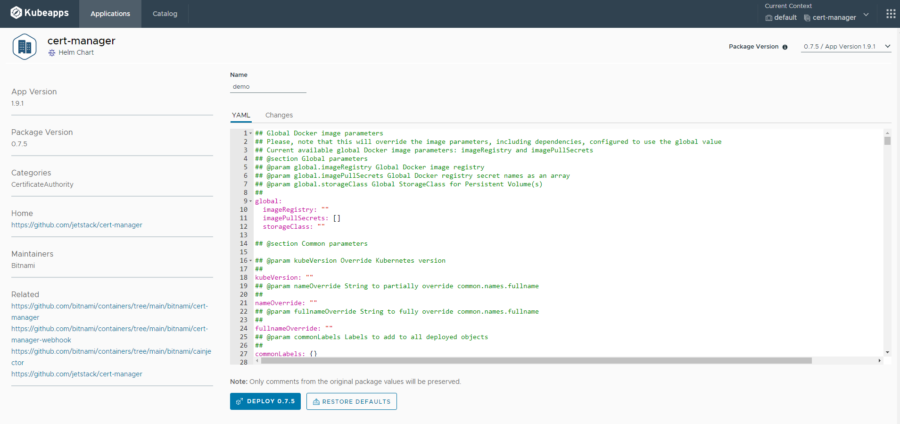
到这里istio安装就完成了,接下来是cert-manager,我喜欢用kubeapp 进行管理,就可以一键安装cert-manager(个人偏好换了个namespace)
安装完毕后,开始配置cert-manager, kubectl apply 走起~
apiVersion: cert-manager.io/v1
kind: ClusterIssuer
metadata:
  name: letsencrypt-prod-cluster #注意这个名字
  namespace: istio-system
spec:
  acme:
    email: xxx@mzh.io
    server: https://acme-v02.api.letsencrypt.org/directory # 正式环境的地址,stage的可以看
    privateKeySecretRef:
      name: letsencrypt-prod-cluster
    solvers:
    - http01:
        ingress:
          class: istio

---
apiVersion: cert-manager.io/v1
kind: Certificate
metadata:
  name: example-cert
  namespace: istio-system
  annotations:
    cert-manager.io/issue-temporary-certificate: "true" # 防止配置错误一直取不到证书
spec:
  secretName: example-cert #最好跟name一致
  isCA: false
  usages:
    - server auth
    - client auth
  issuerRef:
    name: letsencrypt-prod-cluster #要和前面的ClusterIssuer里的名字一样
    kind: ClusterIssuer
    group: cert-manager.io
  dnsNames:
    - example.com # 这里换成你自己的域名
现在来配置istio对应的站点, kubectl apply 继续走起~
apiVersion: networking.istio.io/v1beta1
kind: Gateway
metadata:
name: example-gw
namespace: default
spec:
selector:
istio: ingressgateway #这里就是helm安装的时候那个app名字,去掉istio-
servers:
- port:
number: 80
name: http
protocol: HTTP
hosts:
- example.com
- port:
number: 443
name: https
protocol: HTTPS
tls:
httpsRedirect: false #防止配置错误乱跳
mode: SIMPLE
credentialName: example-cert #跟刚才的Certificate里的一样
hosts:
- example.com
---
apiVersion: networking.istio.io/v1beta1
kind: VirtualService
metadata:
name: example
namespace: default
spec:
hosts:
- "example.com"
gateways:
- example-gw # 跟前面的Gateway名字一致
http:
- name: main-site
route:
- destination:
host: site.default.cluster.local # K8S集群里的名字,当然可以看官方按app和version配置,不过这次简单点
port:
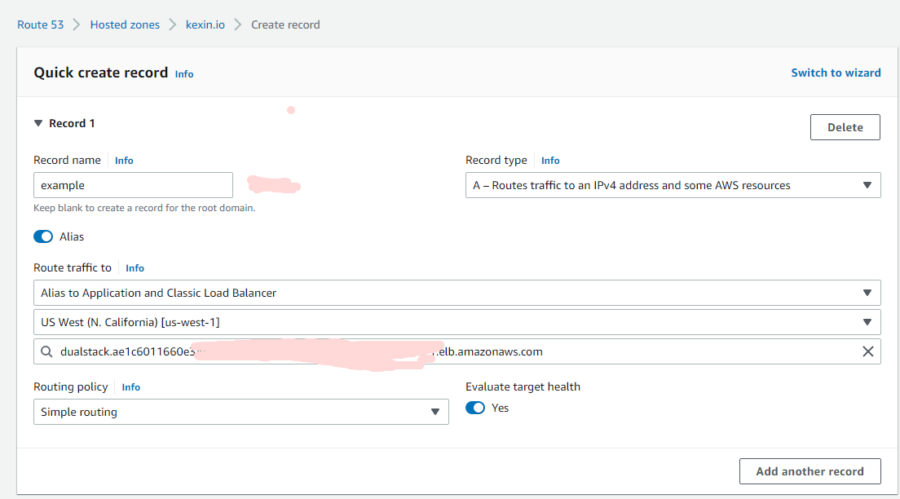
number: 8080接下来配置对应的DNS记录,我这里用了Route53,注意可以直接用alias指向ELB,因为ELB的地址会换IP,所以不要轻易用A记录直接指向。
好了~这下配置完成了,但是还是连不上怎么办?
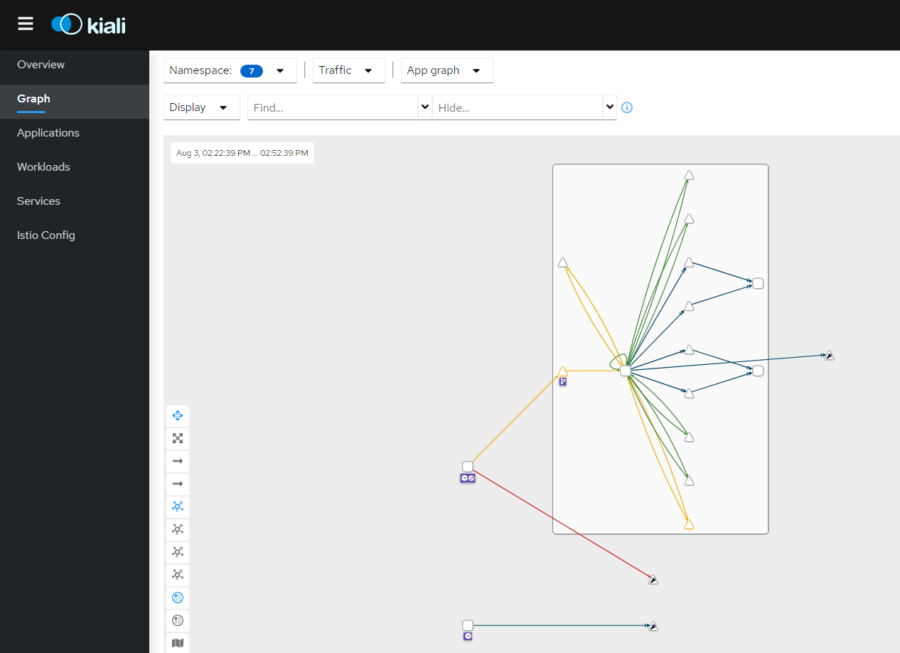
debug最好用的是istioctl dashboard kiali ,可以很直观的看到哪里配置错误,按照里面的提示修改就行。
官方教程 https://istio.io/latest/docs/tasks/observability/kiali/